

Who doesn't love to sink their teeth into gooey peanut butter brownies? These brownies are ultra-fudgy and have the most delicious peanut butter filling. Even if you are a novice home baker, you will love how simple and easy this recipe is.
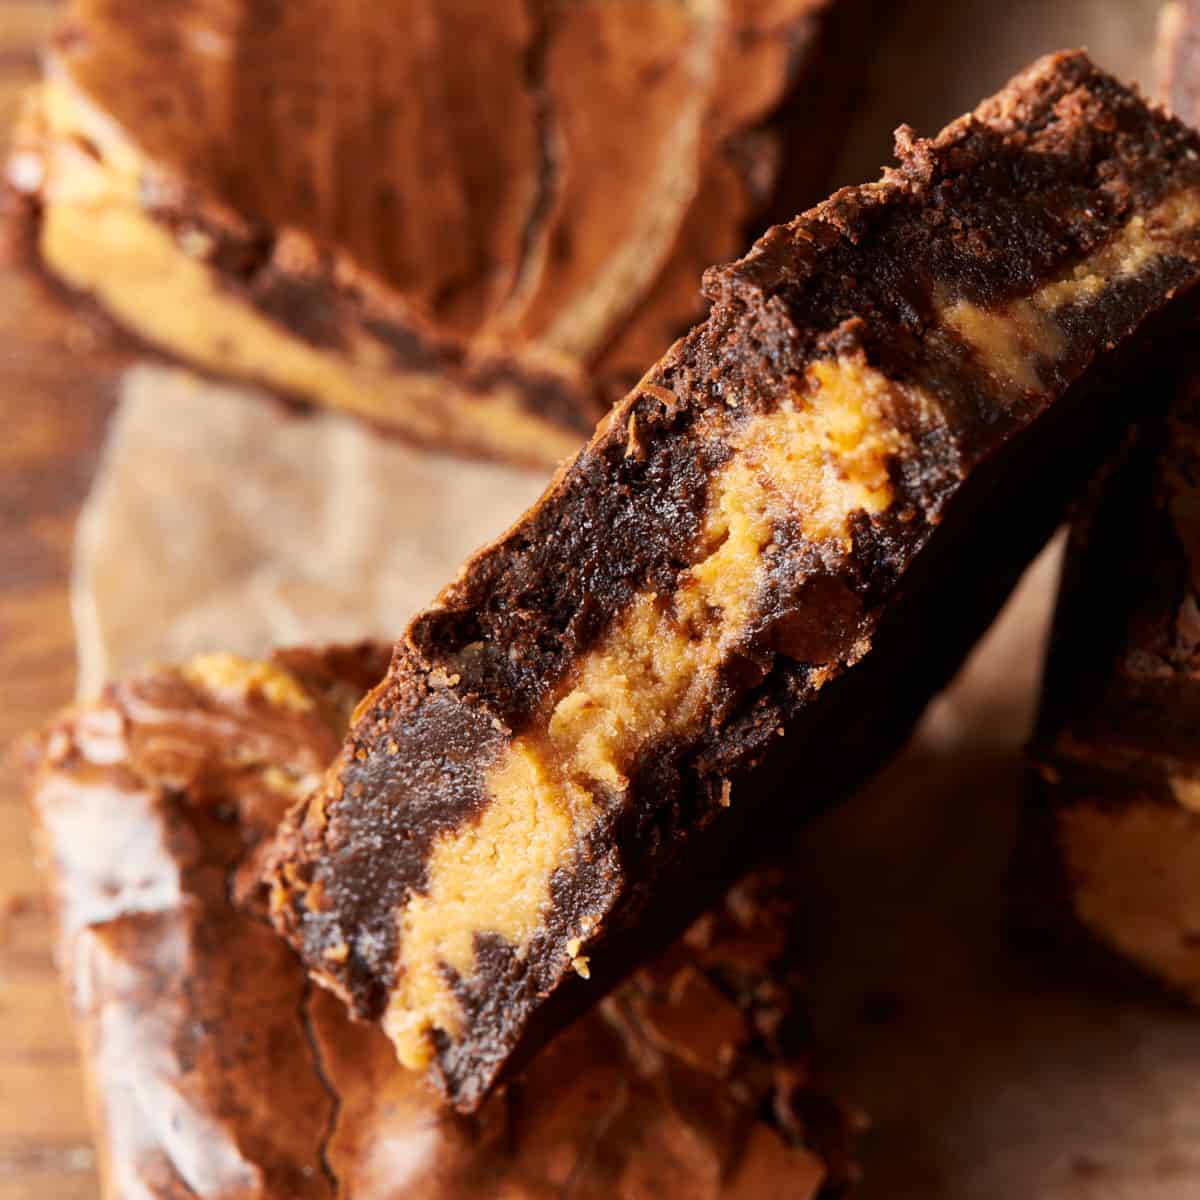
All you need are a few basic ingredients to make this chocolaty treat from scratch. By the way, you can also bake them in the air fryer. I'll show you how in my air fryer brownies post! Keep reading, and I’ll show you how to get that soft, fudgy center without overbaking them.
Jump to:
Video Instructions
Try These Peanut Butter Brownies
If you already love chocolate and peanut butter together, this brownie recipe is definitely worth making. The brownie itself is really fudgy, and the creamy peanut butter filling gives you plenty of peanut butter flavor without taking over the chocolate.
My favorite part is that you can choose between a thick, natural peanut butter layer or a swirl. I’d go with the filling when I want more peanut butter in each piece, while the swirl is nice when I want a little of both throughout the brownie.
Why You’ll Love It
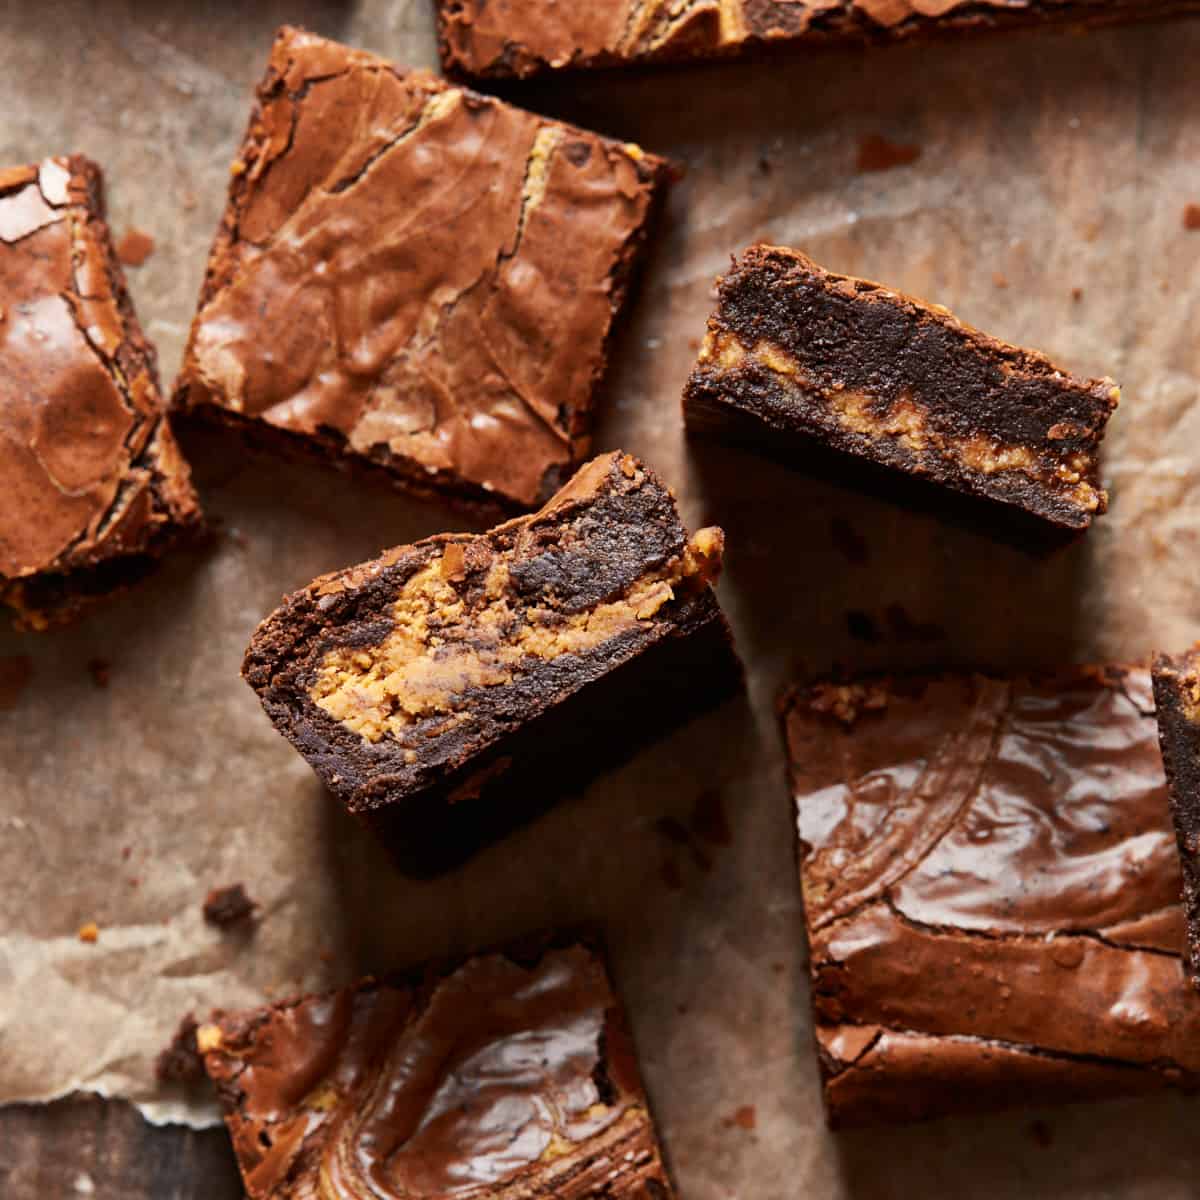
- Really fudgy: Melted chocolate and cocoa powder give these brownies their rich chocolate flavor and dense texture.
- Plenty of peanut butter: The filling uses a full cup of creamy peanut butter, so the peanut butter doesn’t get lost behind the chocolate.
- Two ways to make them: Keep the peanut butter as a filling between the brownie layers or swirl it through the batter.
- Easy ingredients: Everything is made from scratch, but you don’t need anything complicated to make them.
Ingredients
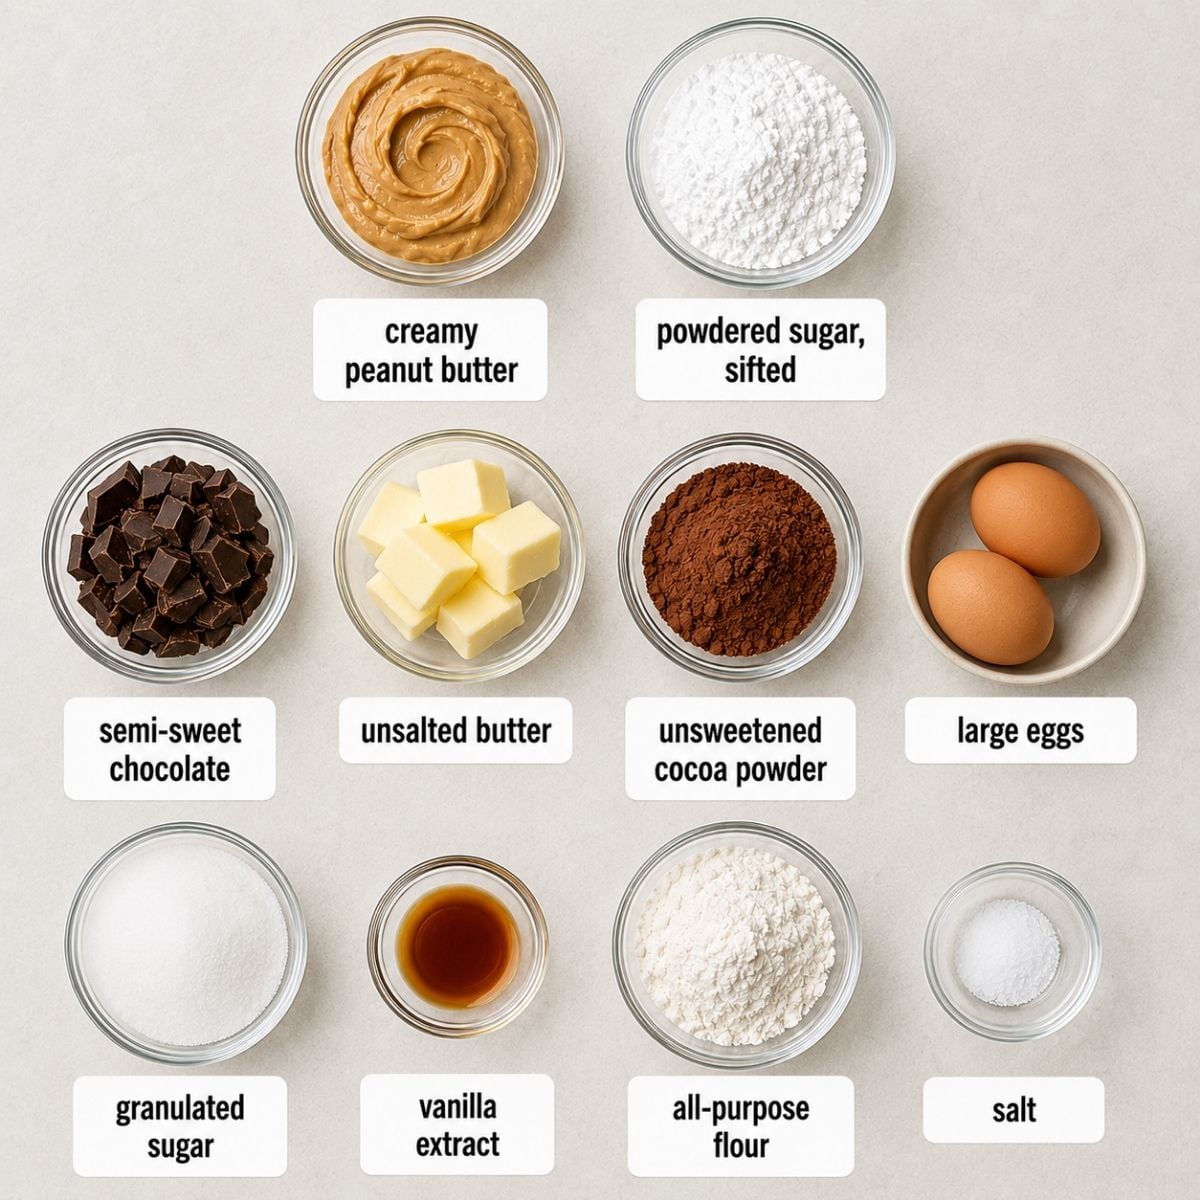
- Peanut butter: I use creamy peanut butter because it mixes smoothly with the powdered sugar and melted butter and gives you a soft filling. Crunchy peanut butter also works if you like little peanut pieces, but I wouldn’t use homemade peanut butter here because the filling can turn out like dry cake and crumbly.
- Semi-sweet chocolate: I’d stick with chocolate around 50–55% cocoa because it gives the brownies a rich chocolate flavor without making them too bitter. Baking chocolate or a good chocolate bar also melts better here. Chocolate chips can leave the brownies drier, so they wouldn’t be my first choice.
- Cocoa powder: The little bit of cocoa powder added to the melted chocolate makes the chocolate flavor stronger. There’s no baking soda or baking powder in this recipe, so either natural or Dutch-processed unsweetened cocoa will work.
- Butter: Butter goes into both the peanut butter filling and brownie batter. I like European-style butter when I can get it because the slightly higher fat content helps make the brownies even fudgier, but regular unsalted butter will still work.
How to Make Peanut Butter Brownies
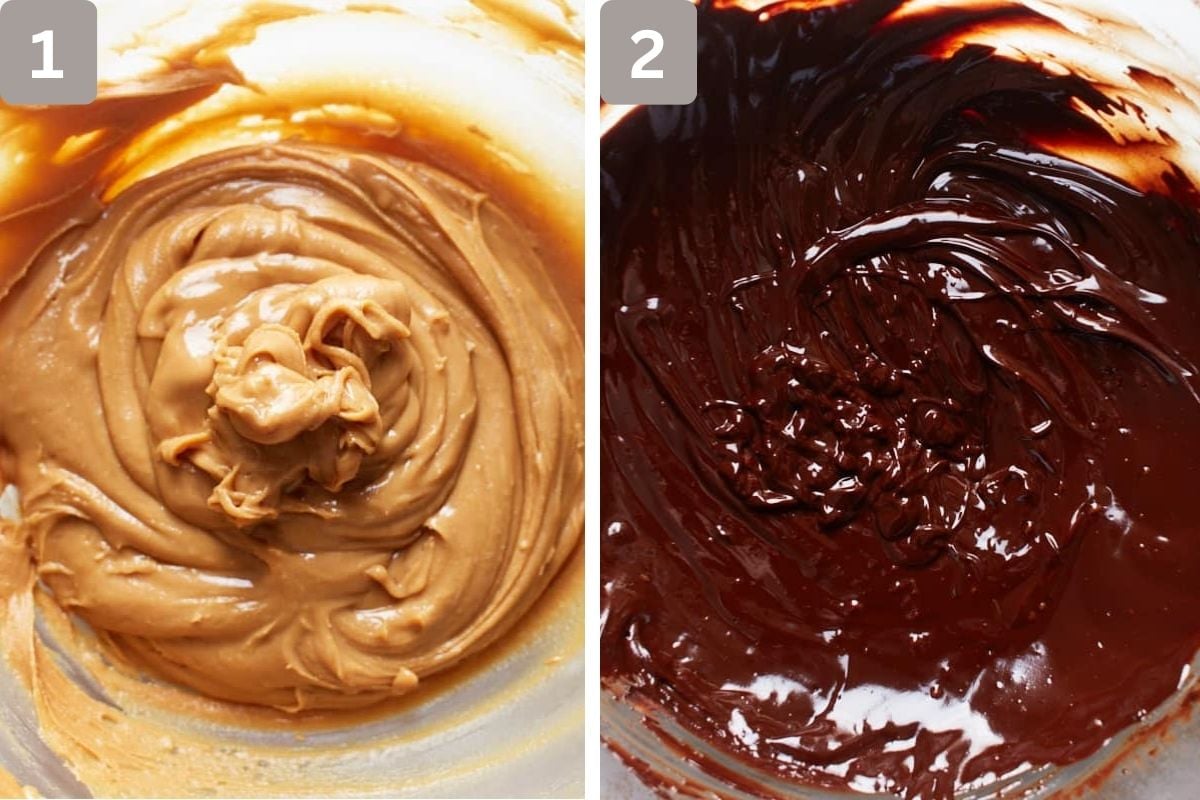
1. In a large mixing bowl, whisk the peanut butter, powdered sugar, and melted butter until smooth and combined. Set aside.
2. Place the chocolate and butter in a heatproof bowl and heat until melted. Stir every 15-20 seconds to prevent the chocolate from overheating and burning. Remove the bowl from the microwave, add the cocoa powder and stir until combined. Let rest for 5 minutes.
Note: Let the eggs come to room temperature for the best results.
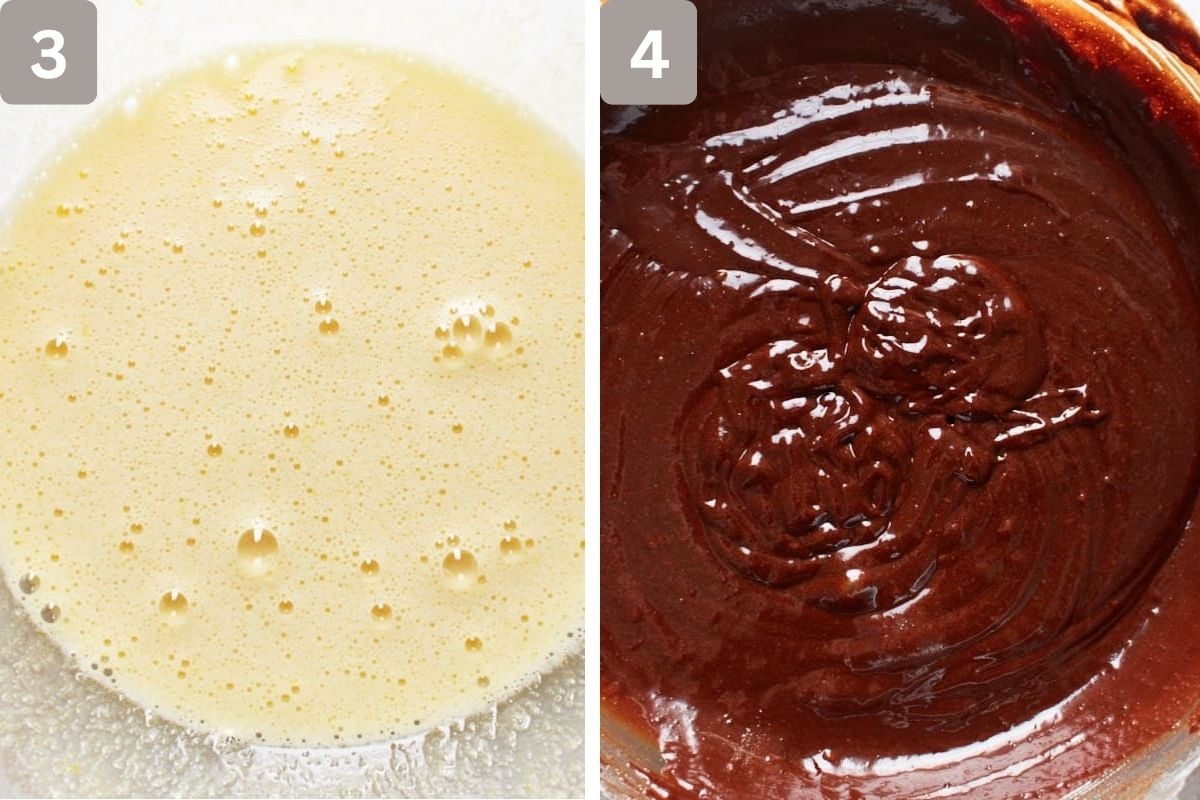
3. In a large mixing bowl, beat the large eggs, sugar and vanilla extract for about 2-3 minutes until frothy.
4. Add the chocolate mixture and whisk to combine until no lumps remain. Then add the all purpose flour and salt and stir just to combine.
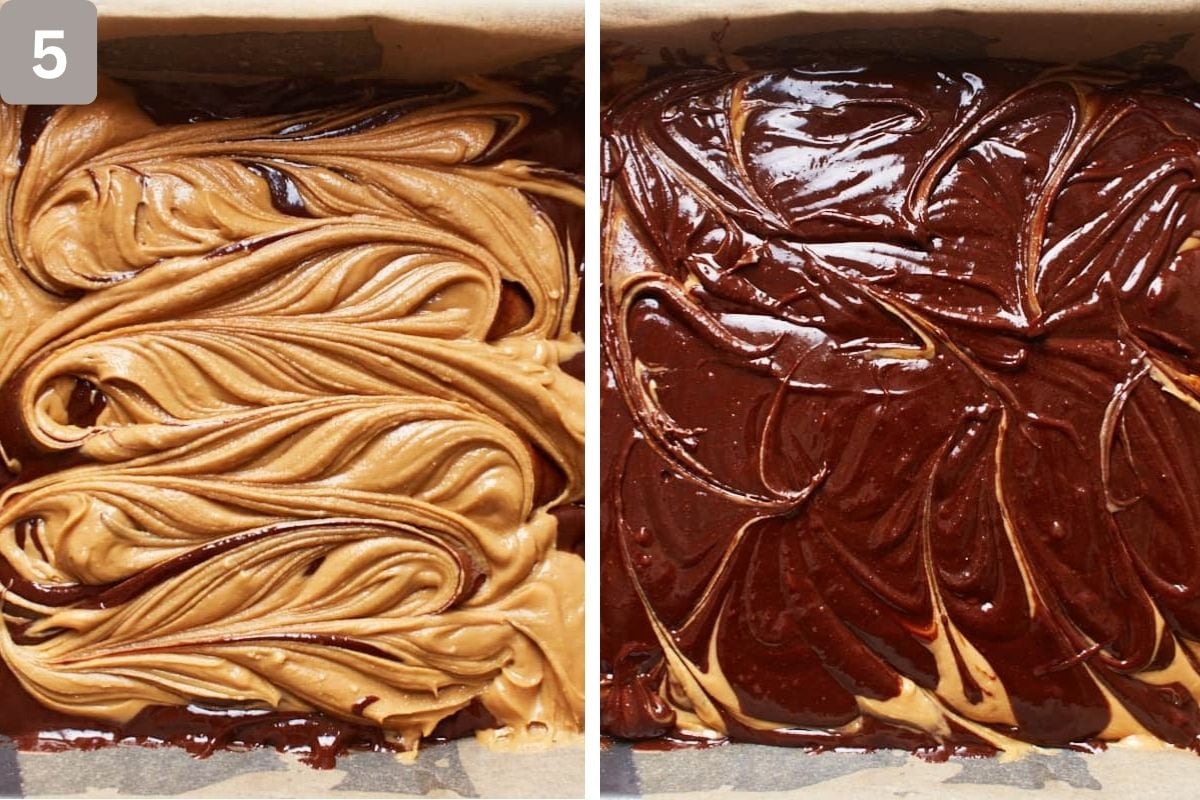
5. Pour half of the brownie batter into the prepared pan and cover the bottom, then add the peanut butter filling and top with the remaining brownie batter.
Note: Alternatively, you can alternate spoon dollops of peanut butter filling on top of the batter and chocolate brownie batter into the baking pan and draw a swirl.
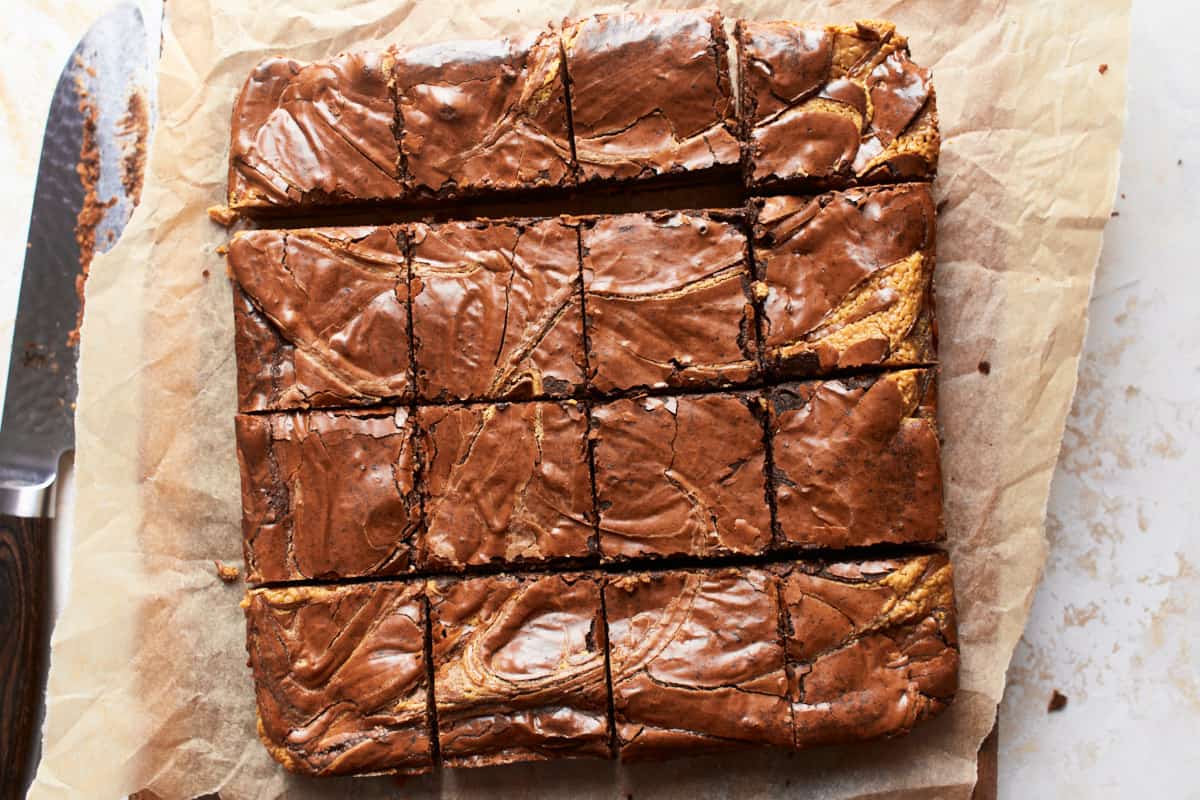
6. Bake and let cool, drizzle some melted dark chocolate on top if you like. Then cut and serve or place in an airtight container for later.
Recipe Tips
- Don’t overbake these brownies. A toothpick should still have a few moist crumbs attached rather than coming out completely clean.
- Don’t skip the 10-minute break halfway through baking. It helps keep the brownie edges softer and fudgier.
- Line the pan with parchment paper so you can lift the brownies out without them sticking.
- For really neat squares, let the brownies chill completely for several hours or preferably overnight in the fridge before cutting.
- An 8x8-inch pan can be used for thicker brownies, but they’ll need a few extra minutes in the oven.
- You can use brown sugar in this peanut butter brownies recipe, but note that it will make the brownies sweeter and fudgier.
- You can wrap them individually with plastic wrap before placing them in a freezer for up to 3 months.
Best peanut butter
I almost exclusively use Skippy's creamy peanut butter for baking. It has a great taste, and the texture is so smooth and creamy and perfect for these peanut butter swirl brownies. Regardless of the brand, I recommend creamy peanut butter or crunchy if you like a few peanut pieces in the filling. However, I don't recommend homemade peanut butter as it results in a dry and crumbly filling.
Peanut butter swirl vs filling
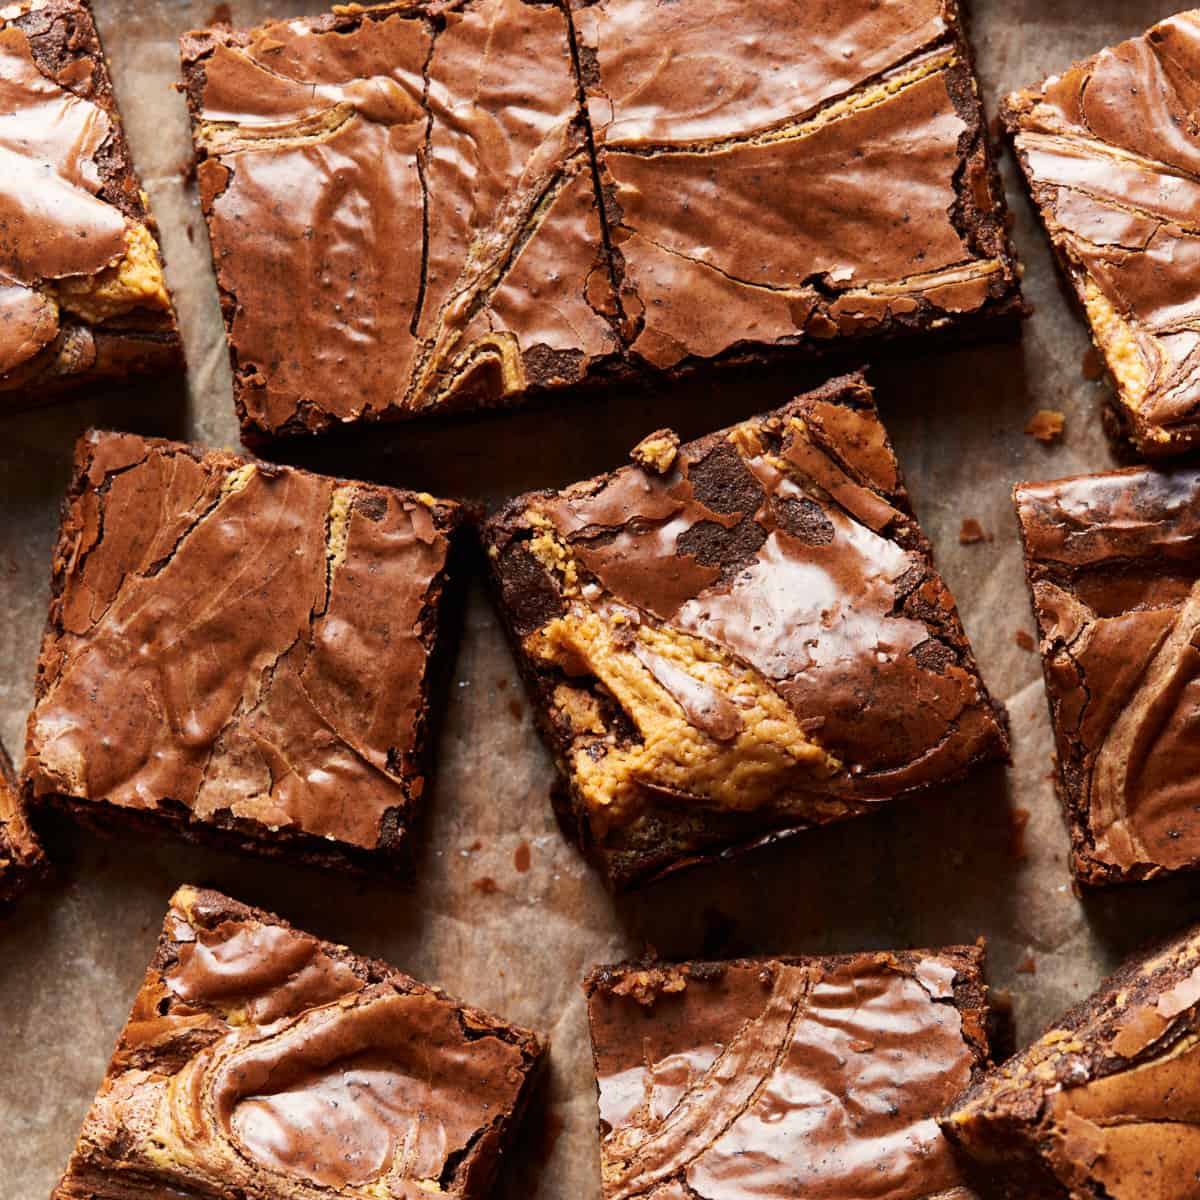
How you assemble your peanut butter brownies is really up to your personal preference. This recipe works by either filling the peanut butter between two chocolate batter layers or alternately spooning dollops of peanut butter filling and brownie batter into the pan and running a knife through to draw a swirl.
Pan size
I use a 9x9-inch (23x23cm) square pan, but you can also bake them in an 8x8-inch (20x20cm) pan for slightly thicker brownies. In this case, just bake them a few minutes longer. Double the recipe and bake it in a 9x13-inch (23x33cm) pan if you want to bake a bigger batch.
What Can You Serve With This?
- Vanilla ice cream
- Fresh strawberries
- Whipped cream
- Hot coffee
FAQs
Creamy peanut butter like Skippy works really well because it gives you a smooth filling. Crunchy peanut butter can also be used if you want some peanut pieces, but homemade peanut butter can make the filling dry and crumbly.
Either works. For a thicker layer of peanut butter, sandwich the filling between two layers of brownie batter. For peanut butter spread throughout the brownies, alternate spoonfuls of each mixture and swirl them together with a knife.
Insert a toothpick into the center. You want it to come out slightly dirty with a few crumbs attached. If you wait until the toothpick is completely clean, you risk overbaking the brownies and losing that fudgy texture.
Recipe
The Best Chocolate Peanut Butter Brownies
Ingredients
Peanut butter filling
- 1 cup creamy peanut butter
- ½ cup powdered sugar, sifted
- ¼ cup unsalted butter, melted
Brownie batter
- 8 oz semi-sweet chocolate bars, roughly chopped
- ½ cup unsalted butter, cut into a few pieces
- ¼ cup unsweetened cocoa powder, spooned and leveled
- 2 large eggs
- 1 cup granulated sugar
- 1 teaspoon vanilla extract
- ⅔ cup all-purpose flour, spooned and leveled
- ½ teaspoon salt
Instructions
- Preheat the oven to 350°F (177°C) and line a 9x9-inch (23x23cm) brownie pan with parchment paper. Set aside.
- In a large mixing bowl, whisk the peanut butter, powdered sugar, and melted butter until smooth and combined. Set aside.
- Place the chocolate and butter in a microwave-safe bowl and heat until melted. Stir every 15-20 seconds to prevent the chocolate from overheating and burning. Remove the bowl from the microwave, add the cocoa powder and stir until combined. Let rest for 5 minutes.
- In a large mixing bowl, beat the eggs, sugar and vanilla for about 2-3 minutes until frothy. Add the chocolate mixture and whisk to combine. Then add the flour and salt and stir just to combine.
- You can assemble the brownie batter and peanut butter filling in two ways, filled or swirled. Either pour half of the brownie batter into the pan and cover the bottom, then add the peanut butter filling and top with the remaining brownie batter. Or you can alternate spoon dollops of peanut butter filling and chocolate brownie batter into the pan and draw a swirl.
- Bake for 15 minutes. Then, remove the brownies from the oven and let them cool for 10 minutes. Turn the pan around, return to the oven, and bake for another 15-20 minutes, or until a toothpick comes out slightly dirty with a few crumbs attached.
- Remove from the oven and let cool in the pan until firm enough to lift them out of the pan without breaking them, about 45-60 minutes. Then transfer to a cooling rack and let cool completely.
- Cut into squares and serve. Store leftovers in an airtight container for up to 4 days or freeze for up to 3 months.
Notes
Cooking Time and Temperature
Bake at 350°F (177°C) for 15 minutes, cool for 10 minutes, then turn the pan and bake for another 15–20 minutes.Taste & Texture
Rich and chocolatey with a dense, fudgy brownie texture and a smooth, creamy peanut butter filling.Storage, Freezing & Reheating
- Room Temperature: Store the brownies in an airtight container for up to 4 days.
- Freezer: Freeze the brownies for up to 3 months.
- Reheat: These brownies can be served at room temperature, so reheating isn’t necessary.
Serving Recommendations
- I like these with vanilla ice cream when I want to turn a brownie into more of a dessert.
- They’re rich enough on their own too, especially when the peanut butter filling is kept as a thick layer through the middle.
Recipe Variations and Substitutions
- Use creamy peanut butter for a smooth filling or crunchy peanut butter if you want some peanut pieces.
- Make swirled brownies by alternating spoonfuls of peanut butter filling and brownie batter before running a knife through them.
- Use an 8x8-inch pan for slightly thicker brownies and increase the baking time by a few minutes.
- Double the recipe and use a 9x13-inch pan when you need a larger batch.
Proper Storage Tips
- Let the brownies cool completely before storing them.
- Keep leftovers in an airtight container for up to 4 days.
- Freeze them for up to 3 months if you want to keep them longer.
Pro Tips
- Use good-quality semi-sweet chocolate around 50–55% cocoa.
- Stir the flour into the batter only until combined.
- Don’t bake until the toothpick comes out completely clean.
- Let the brownies cool for several hours before cutting if you want cleaner squares.
Video
You can find the video in the post above. If you don't see a video, please check your browser settings.
Viv
Delicious! I used semi-sweet chocolate chips because that's what I had and brown sugar instead of white. Also used Kirkland creamy peanut butter (only peanuts and water). Followed recipe other than that (including taking them out of the oven for 10 mins) and they turned out perfect. Left them in for a total of 40 mins. Thank you for sharing! Will make again for sure.
Casey
Hi! This recipe says it’s been updated.. I had a different recipe pinned at this same page.. the other recipe didn’t call for removing the pan, cooling, and rotating. Do you still have your other recipe? (It was SO GOOD. I’m sure this one is too but I want to make the other one again! 💜)
Sabine
I'm really sorry, but I don't have an old version of this recipe saved anywhere. Give this one a try, I'm sure you will love it as well! 🙂
Marla
Can’t wait to try this recipe. Is the chopped chocolate semi-sweet? Would good quality chocolate chips work?
Thanks
Sabine
This recipe works with chocolate chips as well. However, I find that when using chocolate chips they are less moist and fudgy. Yes, I use semi-sweet chocolate.
Caroline
Hello! Can I reduce the quantity of sugar 100g of each?
Thank you 😉
Sabine
Yes, that works well! It will slightly impact the texture and not just the taste though. Hope that helps!
Cory
I made these and they were fantastic! Any recommendations for making them gluten free? Other than swapping out the flour for GF flour?
Sabine
I'm happy that you like them! No, I don't have any other suggestions. Use a GF flour like Bob's Red Mill 1:1 blend, then you should be fine.
Sarah
Curious on what peanut butter you use - salted/unsalted? Do you have a favourite brand?
Sabine
My favorite peanut butter is the creamy peanut butter from Skippy.
Sian
These are incredible!! My friends seemed unsure of the peanut butter at first but then went back for FOURTHS. These are definitely my new favourite, oh and they're so fudgy in the middle!!
Shalini
Can I replace the brown sugar with white sugar?
Sabine
Yes, absolutely.